Reviews
User Score
Rate This
Descriptions:
Clay Hayes Hunter Dressing elk and deer in the field – The sass methodDressing and quartering big game has been covered a thousand times. There are only a limited number of ways to do this. Skin the beast, take the shoulder, hindquarter, hind legs, fillets, neck and rigging meat, and bingo, it’s done! This video will show you how to use the gutting method to trim and cut an elk into easy-to-handle pieces. Most importantly, she’ll show you a few tricks to make the process easier and more efficient.Although we’re working with an elk today, these techniques can be used for deer, elk, caribou and even bear.Most animals, from mice to elk, are assembled in the same way. We start by removing the animal skin from the side we’re working on. Elk and wapiti are much too big to be dragged if you’re on your own, so you’ll have to start on the side that’s up. If you don’t care about preserving the skin, the easiest way to skin it is to split it along the spine, from the tail to the back of the head. Then make an incision around the lower leg, just below the knee, and another under the hock of the rear leg. Make a cut from there all the way down the leg until you meet the cut you made along the spine. Do the same for the rear leg. You are now ready to remove the skin. When making these cuts, proceed from the inside out; in other words, place the backbone of your blade against the meat and cut the skin from underneath. This will allow you to cut fewer hairs and keep your blade sharp. You will still cut a few hairs, so take the time to brush and remove them. It will be easier to remove them now than later. The first thing I do after removing the skin is to pick up the forequarter, the shoulder. There’s not much to connect it to the chest wall, other than muscle and tendon, which are easy to cut. Start at the underside, near the chest, and work your way up the spine, followed by the hind quarters (ham). This one is a little more difficult than the shoulder, and I like to start near the groin, cutting as close to the pelvis as possible. Find the patella and socket, then cut the tendon that connects the two. Continue working towards the upper part of the pelvis. When working in this area, take care not to cut the abdominal wall or spill the small intestine into your workspace. That would make your job a lot harder. To finish removing the ham, you may need to put it back in its natural place and work from the top. You can now remove the rear loin. The ham is covered by a thin membrane which, if removed, makes the operation easier. If you make a cut along the spine, you should be able to run your fingers under this membrane and peel it away in a few small cuts.Once this is done, you should be able to feel the ribs and the way the dorsal lanyard rests on them. Make a deep incision along the spine up to its intersection with the ribs, then another along the lower part of the strap, using the ribs as a guide until you reach the spine. At this point, only a small piece of meat should remain to hold the strap in place. This will be just where the ribs meet the spine. Release one end and work your way down to the other, and the strap will come off easily.The fillets are located inside the body cavity and rest just below the short ribs. You can reach them by making an incision along the outside of the short ribs. Run your hand inside and you should feel them just under the short rib and spine. Remove them in the same way as the back loin.Unfortunately, the neck is often abandoned in the woods.I know coyotes and ravens have to eat it but, believe it or not, it’s one of the best parts of the animal! A neck roast in a cast-iron pot baked at 280 for 4 to 5 hours is absolutely delicious. A large elk can yield 10 pounds of neck meat. A large male can weigh more than 40 pounds! There are lots of roasts. To remove all this, you’ll need to use your blade to work around the vertebrae. It’s a bit of an obstacle course, but well worth it if you use the right cooking methods.Don’t forget to subscribe to the channel. Every week we upload a new video on one of the following subjects: archery, hunting, etc. archery, bow making, survival techniques, bushcraft, self-reliance, primitive techniques, primitive bows, hunting, camping, fishing, and so much more! A big thank you to our partners who help us fund these videos! https://www.3riversarchery.com/https://seekoutside.com/dst-tarp/?utm_twistedstavehttps://orioncoolers.comhttps://www.vortexoptics.comVous can also connect with me on my other media! Website: https://www.twistedstave.com/Facebook : https://www.facebook.com/clayhayeshunter/Instagram : https://www.instagram.com/clayhayeshunter/Patreon : https://www.patreon.com/clayhayes (tagsTranslate)Field DressingsourceWemake the best traditional archery, bow making, recurve hunting, craftsmanship and survival videos on the web. Join Clay, Liz and the kids on their outdoor adventures, from bowhunting deer and elk in the mountains of Idaho to hunting wild hogs in Florida, and practicing crafts and survival skills. We hunt and fish because we love it, but it’s also how we get most of our meat. Hunting is our way of life. We also cultivate a large garden on our Idaho property. This, combined with hunting, fishing and gathering, is how we obtain most of our food.


Clay Hayes Hunter Thumb Shot – Joel Turner

Clay Hayes Hunter Can a recurve bow beat a compound bow?
Clay Hayes Hunter – Fen Slaughtered a Pig
Clay Hayes Hunter – Sharpening tips

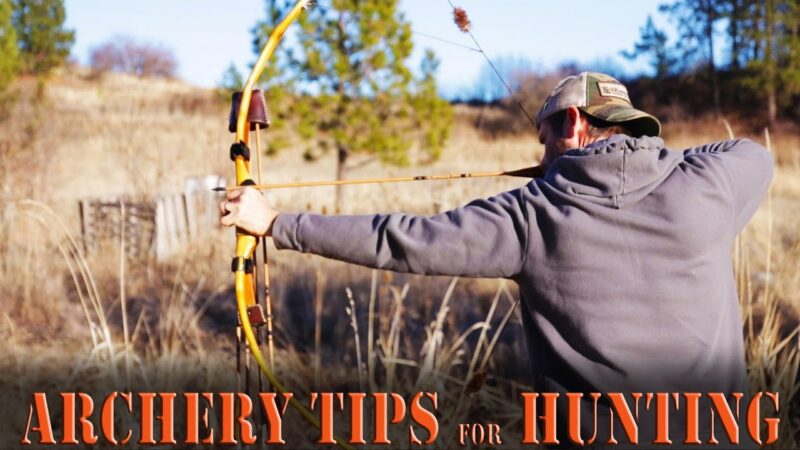
Clay Hayes Hunter Tips for traditional archery

Clay Hayes Hunter The Hayes IDAHO Homestead – behind the scenes

Clay Hayes Hunter Gear change – What’s in my hunting bag?
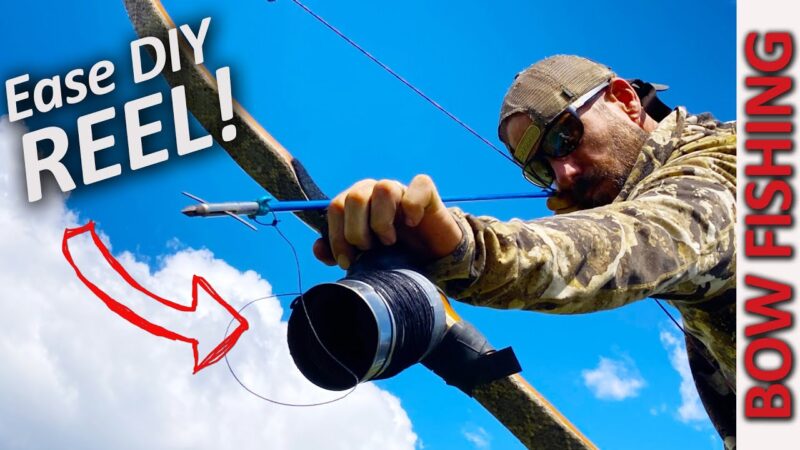
Clay Hayes Hunter DIY configuration BOW FISHING Recurve

Clay Hayes Hunter The 5 best fire starters you can make at home!

Clay Hayes Hunter Inheritance – 2019 Recurve Bow Elk Hunt
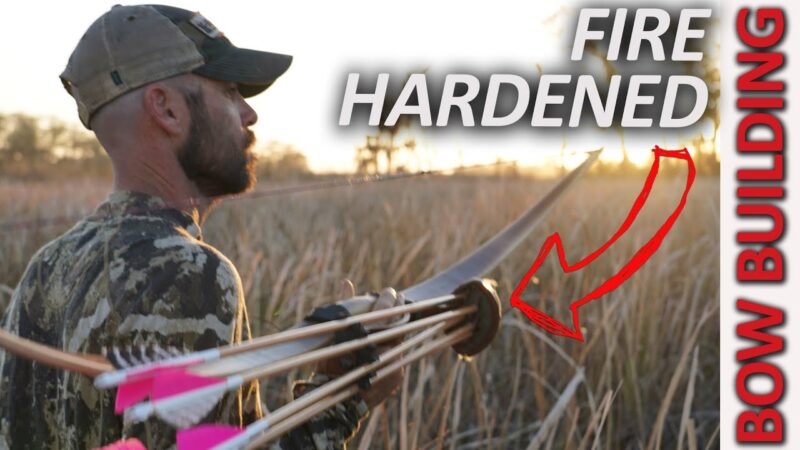
Clay Hayes Hunter Building a Osage Recurve Bow

Clay Hayes Hunter My traditional bowhunting setup for 2019

Clay Hayes Hunter Wooden Arrows: Part 3
Clay Hayes Hunter Shooting tips for recurve and longbow – For bowhunting!
Clay Hayes Hunter Tempered Hickory Bow – As good as Osage?
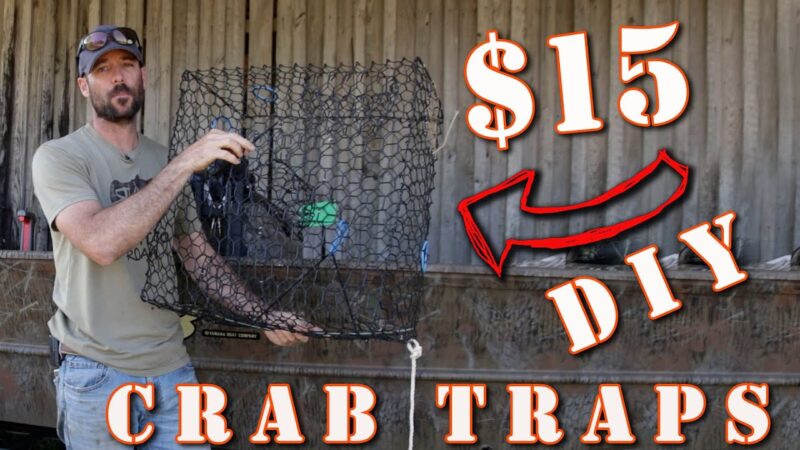
Clay Hayes Hunter Make your own Crab Traps!